프론트엔드 페이지 만드는 부분은 별도의 포스팅으로 분리하도록 하겠다.
@Controller
@RequestMapping("/anthive")
@RequiredArgsConstructor
public class PostController {

    private final PostService postService;

    @GetMapping("/{userId}/catalog-list")
    public String list_catalog(Model model, @PageableDefault(size = 20) Pageable pageable, @PathVariable("userId") String userId) {
        Page<Post> posts = postService.getUsersPosts(userId, pageable);
        int startPage = Math.max(1, posts.getPageable().getPageNumber() / 5 * 5 + 1);
        int endPage = Math.min(posts.getTotalPages(), startPage + 4);
        if(endPage == 0)
            endPage = 1;
        model.addAttribute("startPage", startPage);
        model.addAttribute("endPage", endPage);
        model.addAttribute("posts", posts);
        model.addAttribute("blogger", userId);
        return "anthive/list_catalog";
    }

}
컨트롤러 클래스(요청받은 웹사이트를 보내주는 클래스)를 만들었다.
- @RequestMapping(”/anthive”)는 이 클래스의 함수들은 “www.~.com/anthive/…”에 해당하는 url 요청에 반응한다는 의미다.
- @Autowired는 스프링이 만든 리파지토리 객체를 이 컨트롤러가 생성될 때 받는다는 의미다. 사실 생성자를 선언해서 붙여주는 쪽이 권장된다. → @RequiredArgsConstructor + final 조합으로 생략함.
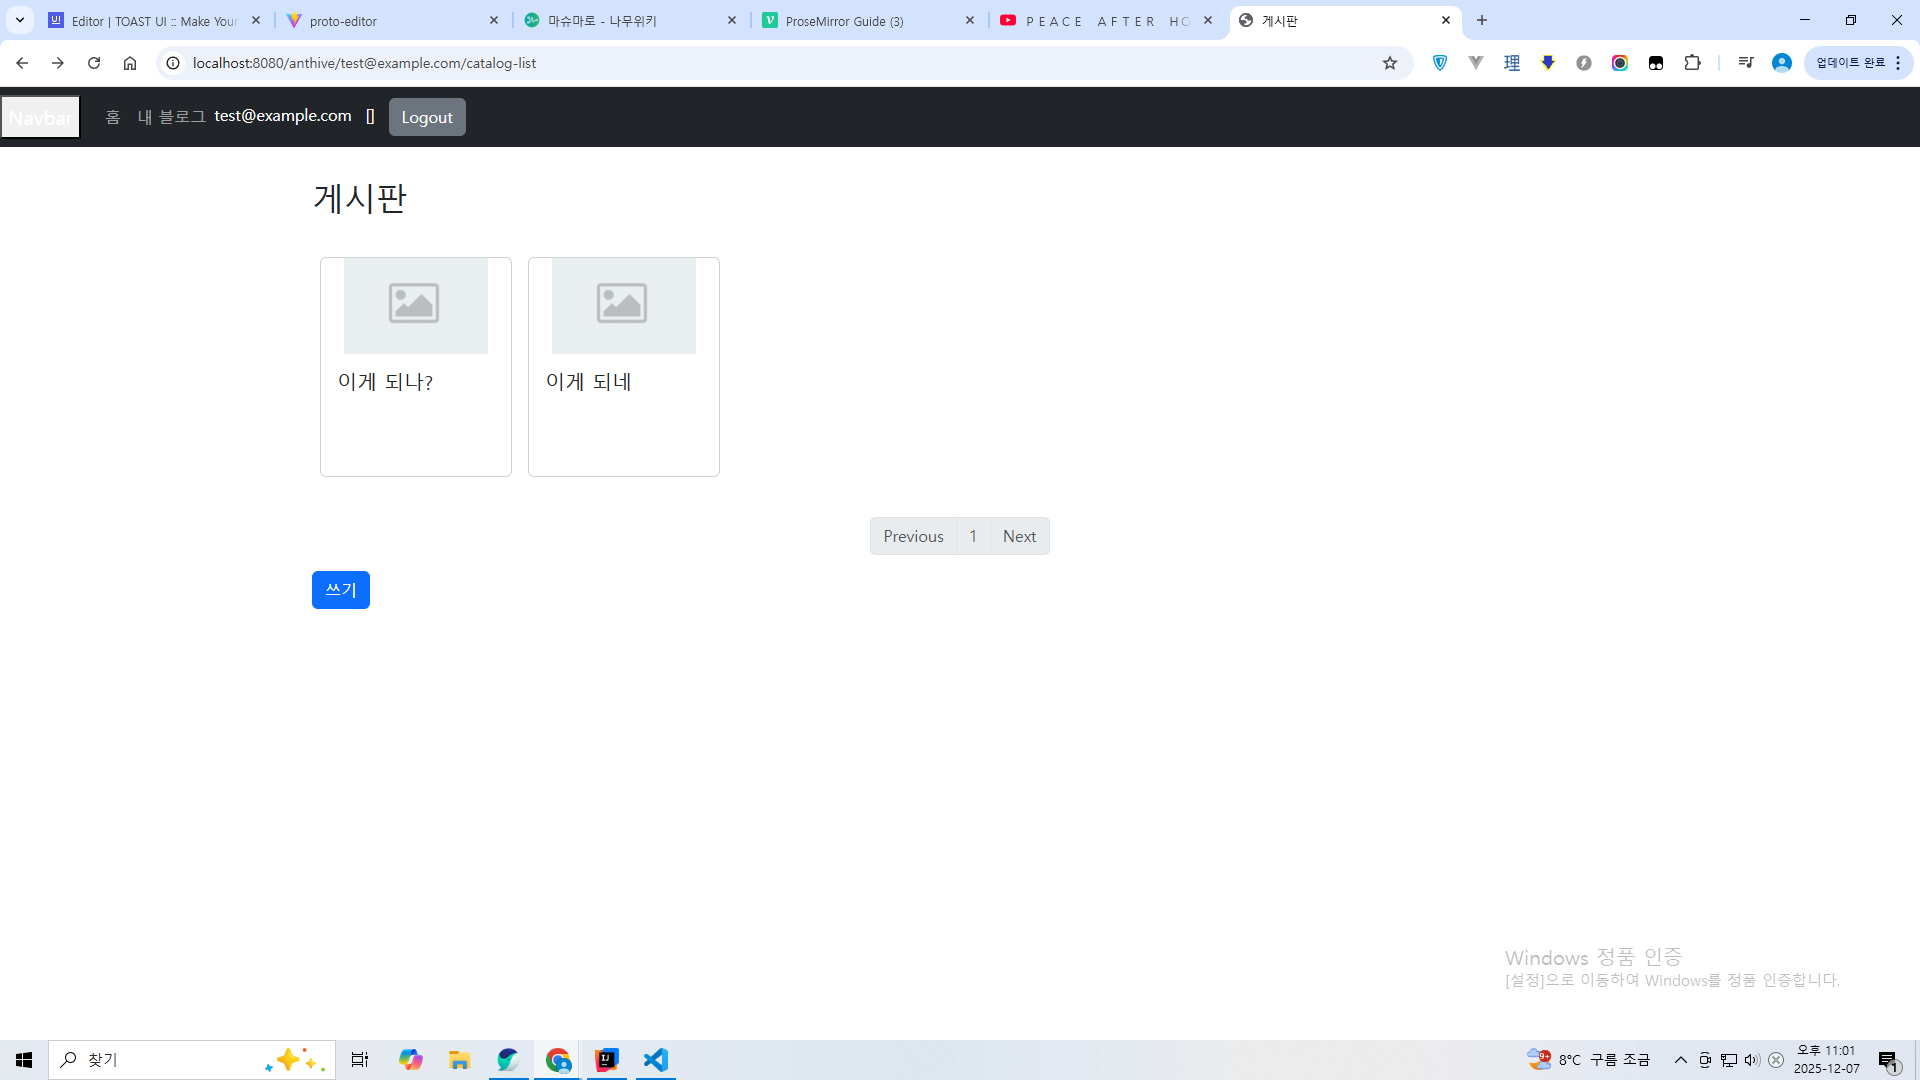
처음 만든건 글 목록 화면을 만들어서 보내주는 함수.
URL “anthive/유저명/catalog-list”로 들어올 경우 해당 유저가 작성한 글들을 페이지 형태로 보여준다.
- 사실 모델에 Post 리스트를 그대로 넣기보단 DTO의 리스트로 바꿔서 보내주는 것이 좋다.
@GetMapping(value = "/form", params = {})
public String form(Model model) {
    model.addAttribute("postForm", new GetBlogpostFormResponse());
    return "anthive/form";
}

@GetMapping(value = "/form", params = {"postId"})
public String form(Model model, @RequestParam("postId") Long postId, Authentication auth) {
    try {
        postService.checkAuthorPermission(postId, auth);
        model.addAttribute("postForm", GetBlogpostFormResponse.of(postService.getPost(postId)));
    } catch (Exception e){
        return "redirect:/anthive/form";
    }
    return "anthive/form";
}
포스트 작성 화면을 만들어서 보내주는 함수와 수정 화면을 만들어서 보내주는 함수.
하나의 함수로 합칠 수도 있다. postId가 null인 경우로 분기처리 하면 됨. 난 분리했다.
- 요청에 id값이 없는 경우, 즉 새로 글을 작성하려는 경우엔 빈 글을 웹사이트에 담아서 보내준다.
- 요청에 id값을 같이 보낸 경우, 즉 데이터베이스에서 특정 글을 가져와서 수정하려는 경우엔 한번 작성자 본인인지 검증하고 해당 글을 웹사이트에 담아서 보내준다.
- 글을 직접 보내는 게 아니라 DTO로 변환해서 보내도록 해줌.
@Data
@NoArgsConstructor
@AllArgsConstructor
public class GetBlogpostFormResponse {
    private Long id;
    private String title;
    private String content;

    public static GetBlogpostFormResponse of(Post post){
        return new GetBlogpostFormResponse(post.getId(), post.getTitle(), post.getContent());
    }
}
글 DTO
@PostMapping("/form")
public String postForm(@Validated PublishBlogpostFormRequest request, BindingResult bindingResult, Authentication auth) {
    if(bindingResult.hasErrors()){
        return "anthive/form";
    }
    //새로 만들때
    if(request.getPostId() == null) {
        postService.publishPost(auth.getName(),request);
    }
    //수정할때
    else{
        try {
            postService.checkAuthorPermission(request.getPostId(), auth);
            postService.publishPost(auth.getName(), request);
        }catch (Exception e){
            return "anthive/form";
        }
    }
    return "redirect:/anthive/"+ auth.getName() +"/catalog-list";
}
글 제출 / 수정 요청을 받아서 처리하는 함수.
@GetMapping(value = "/{username}/post/{postId}")
public String view(Model model, @PathVariable("postId") Long postId){
    Post post = postService.getPost(postId);
    model.addAttribute("postForm", post);
    return "anthive/view";
}
글 보기 화면을 만들어서 보내주는 함수.
@RestController
@RequiredArgsConstructor
@RequestMapping("/api")
public class PostApi {

    private final PostService postService;

    @DeleteMapping("/post/{id}")
    void deletePost(@PathVariable("id") Long id, Authentication authentication){
        postService.deletePost(id, authentication);
    }
}
삭제 함수를 만들어주자. 이건 화면을 반환하지 않으므로 API 컨트롤러로 만들었다.
그리고 프론트엔드쪽의 휴지통 아이콘에 삭제 요청을 달아주면 끝.
function deletePost(id){
    $.ajax({
        headers:{"[[${_csrf.headerName}]]":"[[${_csrf.token}]]"},
        url : '/api/post/'+id,
        type: 'DELETE',
        success: function(result){
            window.location.reload();
        }
    });
}
jQuery 라이브러리의 ajax 함수를 써서 삭제 요청을 보내도록 했다.
요즘은 jQuery 안쓰는 추세니까 fetch나 axios를 사용해도 된다.
- 개발때문에 csrf 꺼두면 프론트엔드에서 이런식으로 csrf 사용하는 부분에서 오류가 생긴다.
thymeleaf html 파일 넣고 테스트해봄.
예전에 만들었던 걸 재활용해서 부트스트랩 버전 문제로 좀 깨지긴 하는데 잘 작동한다.
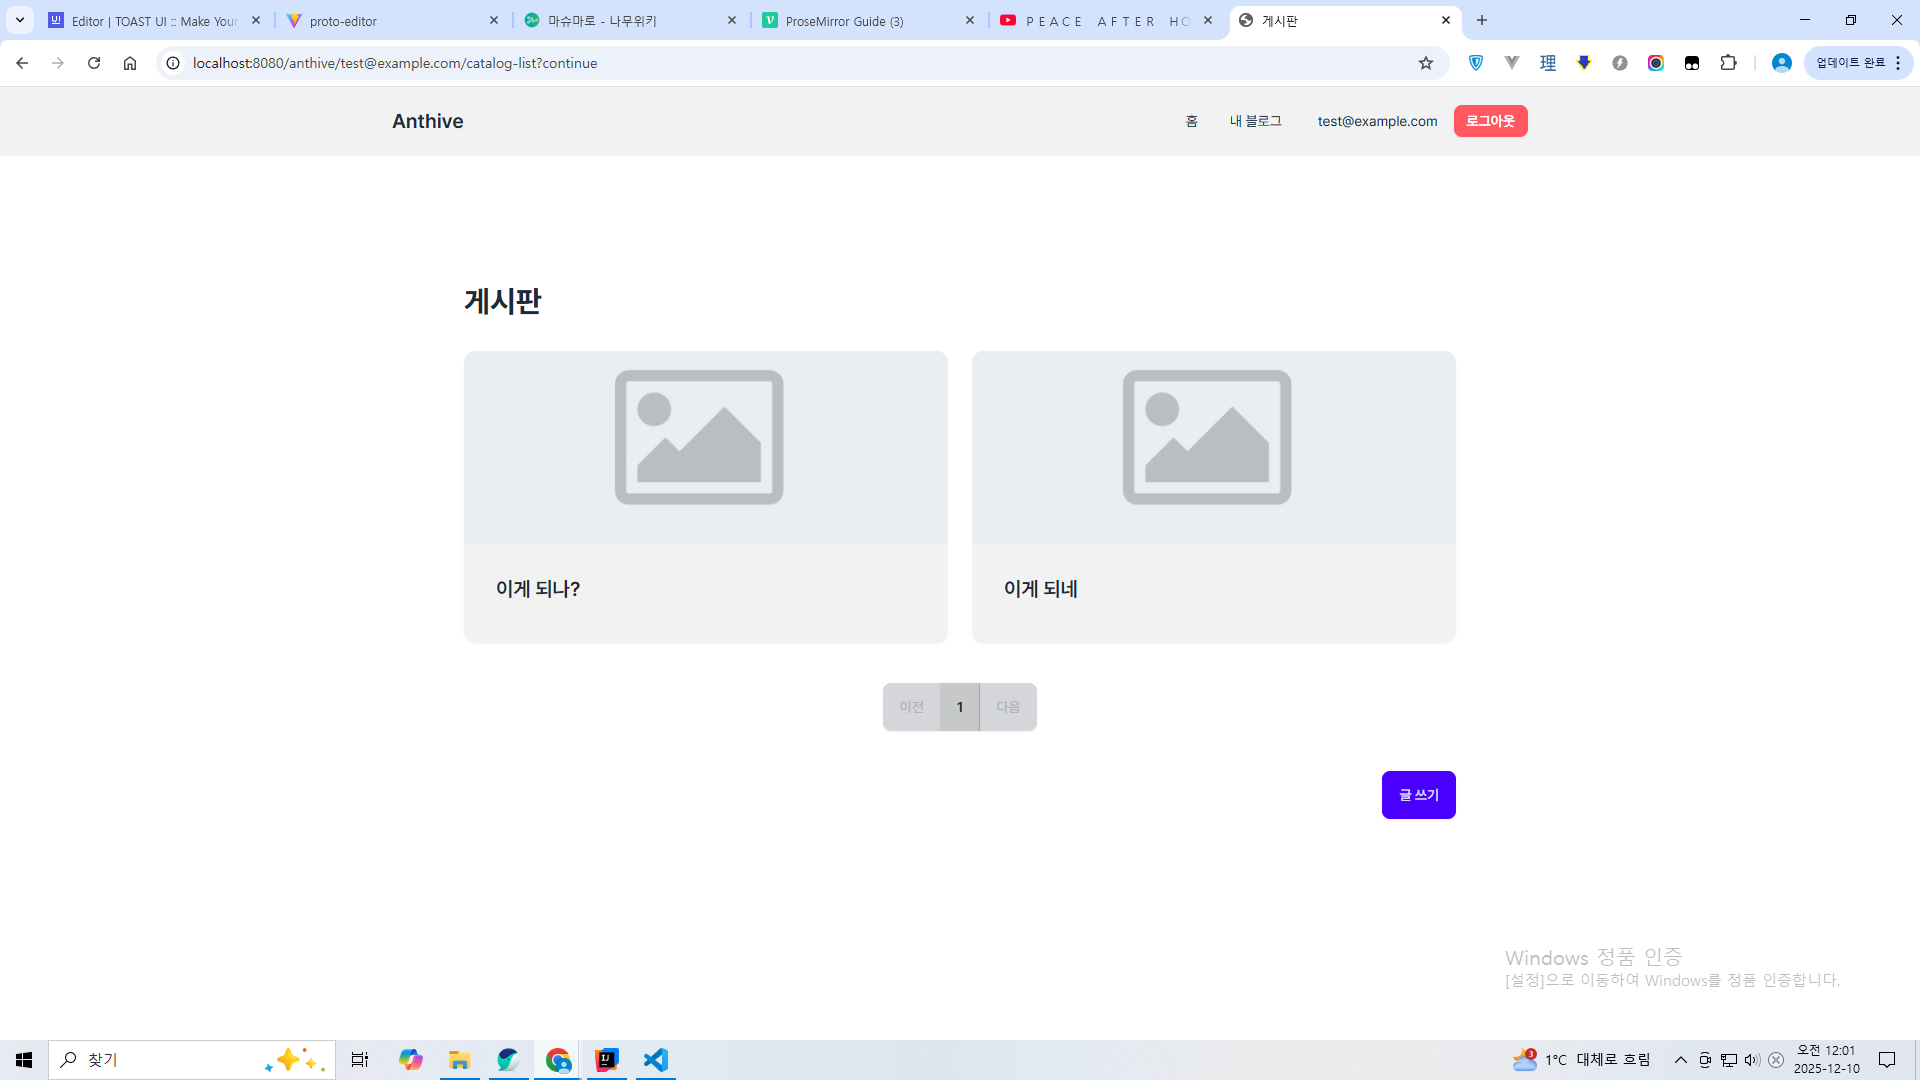
바이브 코딩으로 프론트엔드 UI를 변경했다.
기존의 부트스트랩 + jQuery 조합을 버리고 Tailwind CSS(DaisyUI) + 순수 자바스크립트 조합으로 짰다.
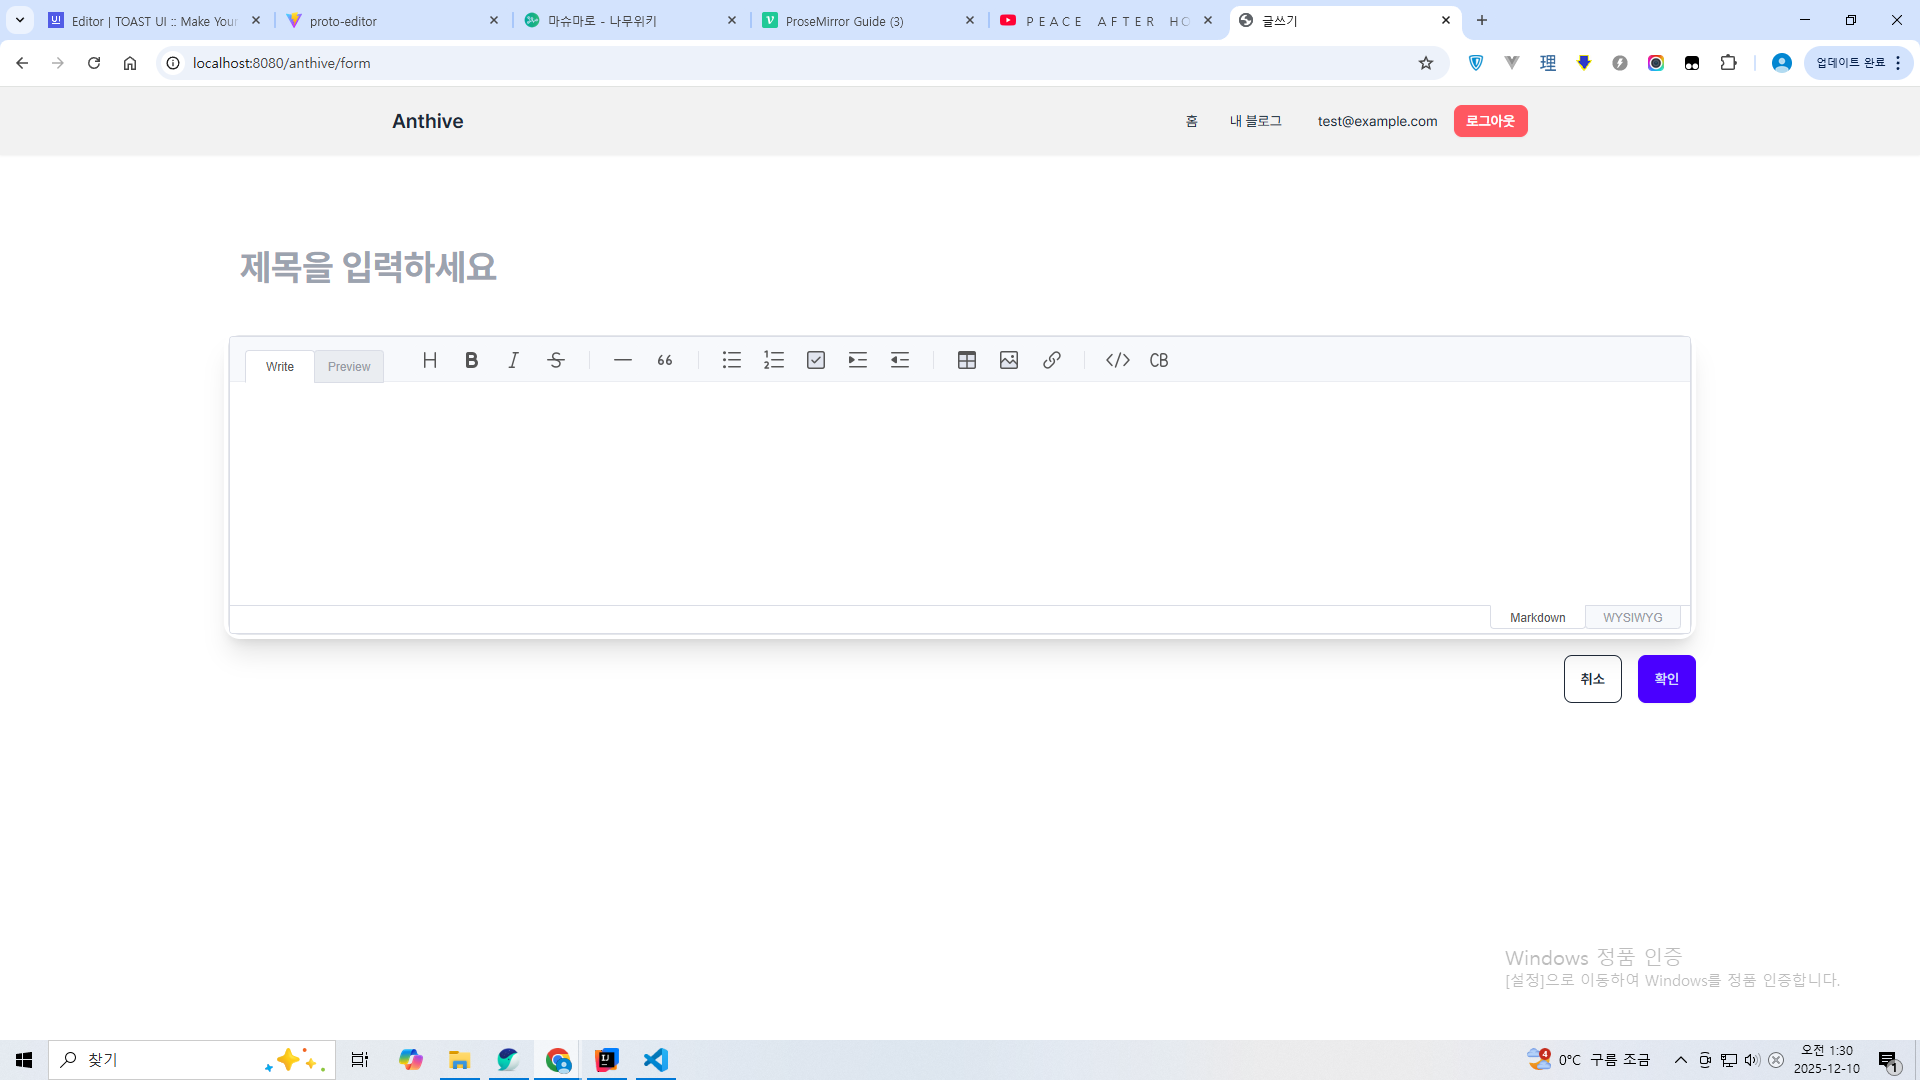
이건 글 쓰기 화면.
api 컨트롤러 추가
@RestController
@RequiredArgsConstructor
@RequestMapping("/api")
public class ArticleApi {

    private final ArticleService articleService;

    @GetMapping("/v1/articles/{articleId}")
    public ArticleResponse read(@PathVariable("articleId") Long articleId){
        Article article = articleService.getArticle(articleId);
        return ArticleResponse.from(article);
    }

    @PostMapping("/v1/articles")
    public ArticleResponse create(@RequestBody PublishArticleRequest request, Authentication auth){
        Article article = articleService.publishArticle(auth.getName(),request);
        return ArticleResponse.from(article);
    }

    @PutMapping("v1/articles/{articleId}")
    public ArticleResponse update(@PathVariable("articleId") Long articleId, @RequestBody PublishArticleRequest request, Authentication auth){
        articleService.checkAuthorPermission(articleId, auth.getName());
        articleService.editArticle(auth.getName(), request);
        return ArticleResponse.from(articleService.getArticle(articleId));
    }

    @DeleteMapping("/post/{articleId}")
    public void delete(@PathVariable("articleId") Long articleId, Authentication auth){
        articleService.checkAuthorPermission(articleId, auth.getName());
        articleService.deleteArticle(articleId, auth.getName());
    }
}
추가로 API 컨트롤러도 만들어줬다. MSA화 진행 과정에서 인강 따라가느라.
또한 Post를 Article로 이름을 변경했다.
또한 서비스단에 authentication을 넘겨주는 방식에서 authentication.getName을 넘겨주는 방식으로 변경하였다.
@SpringBootTest(webEnvironment = SpringBootTest.WebEnvironment.RANDOM_PORT)
@Import(SecurityTestConfiguration.class)
@ActiveProfiles("test")
class ArticleApiTest {

    @LocalServerPort
    int port;

    RestClient restClient;
    Member member;
    @Autowired
    MemberRegister memberRegister;

    @BeforeEach
    void setUp() {
        restClient = RestClient.create("http://localhost:" + port);

        member = memberRegister.register(MemberFixture.createRegisterRequest());
    }

    @Test
    void create_article_success() {
        ArticleResponse response = create(new ArticleCreateRequest("hi", "content", 1L));
        assertThat(response).isNotNull();
    }

    ArticleResponse create(ArticleCreateRequest articleCreateRequest) {
        return restClient.post()
                .uri("/api/v1/articles")
                .headers(h -> h.setBasicAuth(member.getEmail().address(), member.getPasswordHash()))
                .body(articleCreateRequest)
                .retrieve()
                .body(ArticleResponse.class);
    }

    @Test
    void read_article_success() {
        ArticleResponse postResponse = create(new ArticleCreateRequest("hi", "content", 1L));

        ArticleResponse getResponse = read(postResponse.id());

        assertThat(getResponse.id()).isEqualTo(postResponse.id());
    }

    ArticleResponse read(Long articleId) {
        return restClient.get()
                .uri("/api/v1/articles/{articleId}", articleId)
                .headers(h -> h.setBasicAuth(member.getEmail().address(), member.getPasswordHash()))
                .retrieve()
                .body(ArticleResponse.class);
    }

    @Test
    void update_article_success() {
        ArticleResponse postResponse = create(new ArticleCreateRequest("hi", "content", 1L));

        ArticleResponse updateResponse = restClient.put()
                .uri("/api/v1/articles/{articleId}", postResponse.id())
                .headers(h -> h.setBasicAuth(member.getEmail().address(), member.getPasswordHash()))
                .body(new ArticleUpdateRequest(postResponse.id(),"hello", "content", 1L))
                .retrieve()
                .body(ArticleResponse.class);

        ArticleResponse getResponse = read(postResponse.id());
        assertThat(getResponse.title()).isEqualTo("hello");
    }

    @Test
    void delete_article_success() {
        ArticleResponse postResponse = create(new ArticleCreateRequest("hi", "content", 1L));

        restClient.delete()
                .uri("/api/post/{articleId}", postResponse.id())
                .headers(h -> h.setBasicAuth(member.getEmail().address(), member.getPasswordHash()))
                .retrieve()
                .body(ArticleResponse.class);

        assertThatThrownBy(() -> read(postResponse.id()))
                .isInstanceOf(RestClientResponseException.class)
                .hasMessageContaining("404");
    }

}
이건 테스트 코드.
이 테스트의 경우 끝나더라도 DB가 롤백되지 않는다.
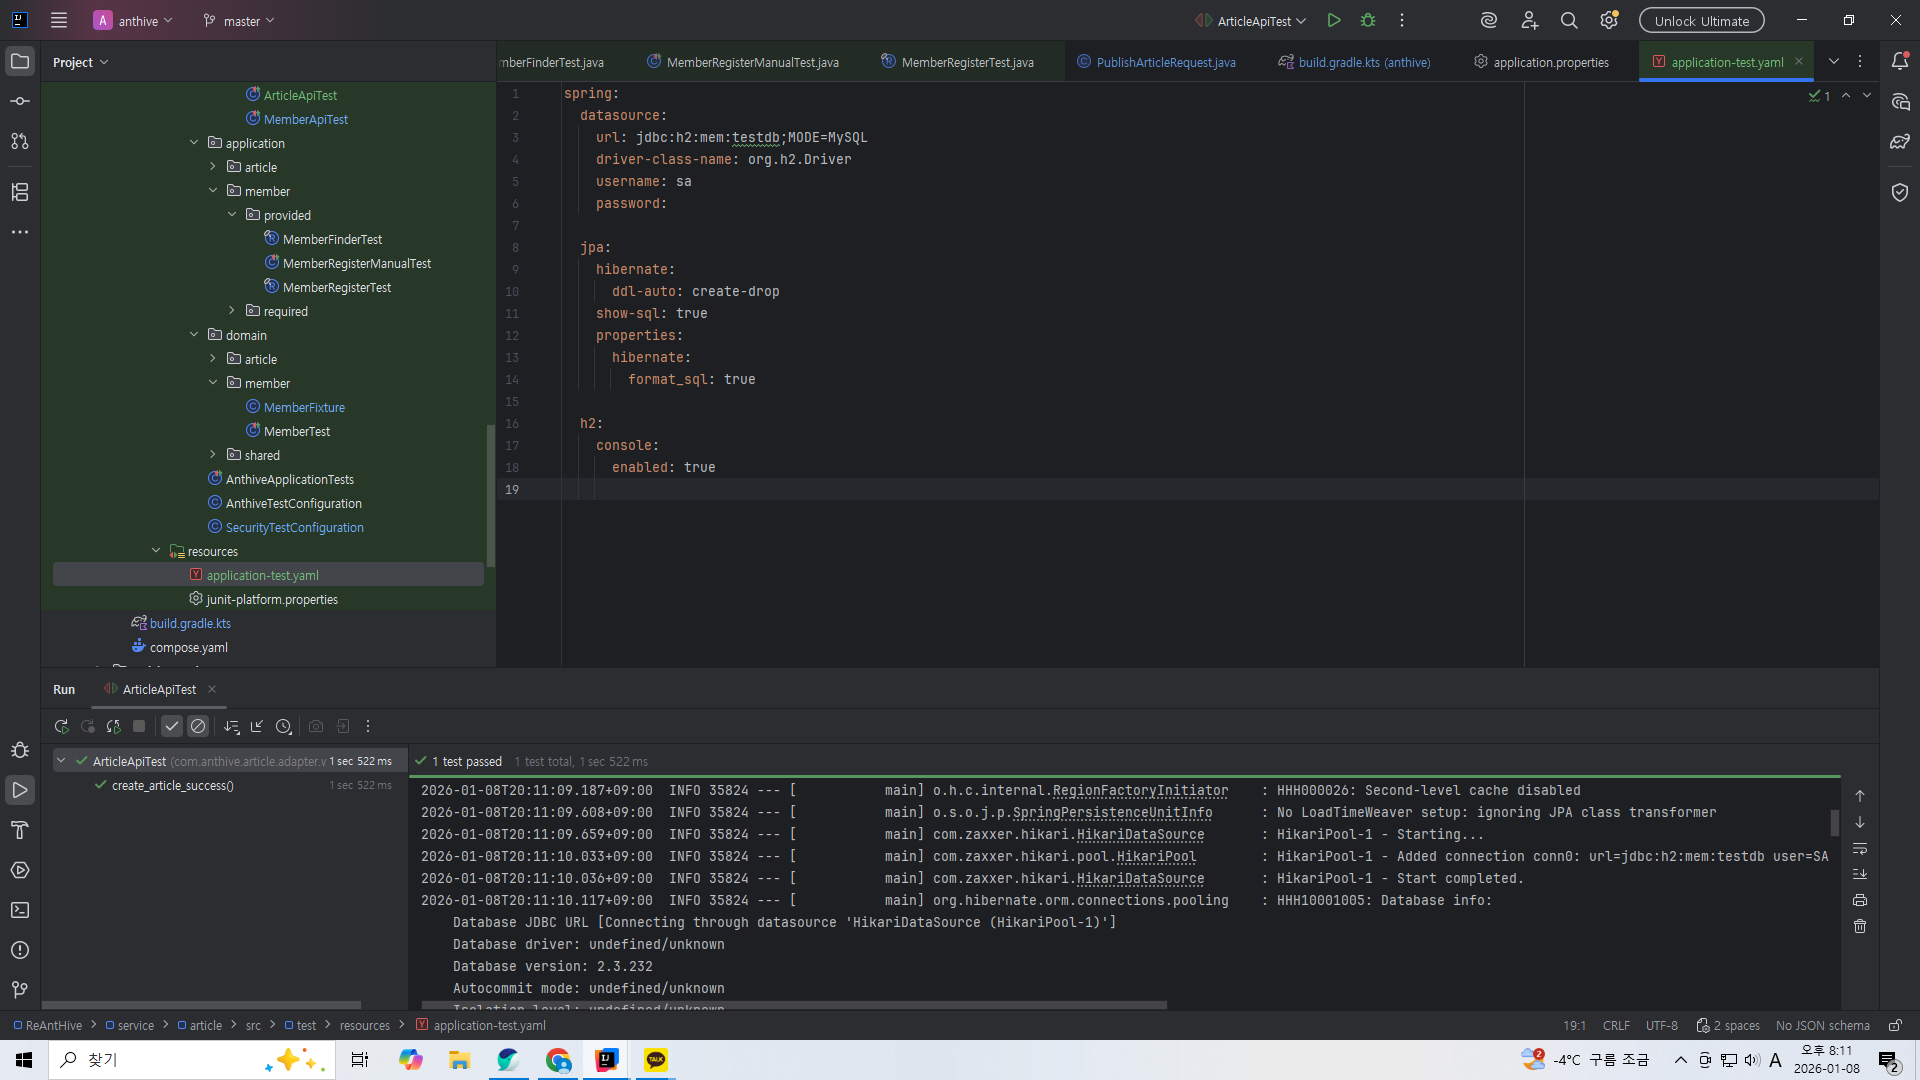
테스트용 설정 파일을 만들어서 DB를 따로 만들게 했다.
'스프링 부트로 블로그 서비스 개발하기' 카테고리의 다른 글
| 포스트 CRUD 기능 - Snowflake로 게시글 id 만들기 (0) | 2026.01.07 |
|---|---|
| 대규모 시스템 설계 인강) MSA화 진행하기: 모듈 추가하고 build.gradle 분리 (0) | 2026.01.07 |
| 포스트 CRUD 기능 - 테스트 코드 (1) | 2025.12.06 |
| 포스트 CRUD 기능 - 도메인과 서비스단 (0) | 2025.12.05 |
| 회원가입 기능 - 테스트 코드 작성 (0) | 2025.12.02 |